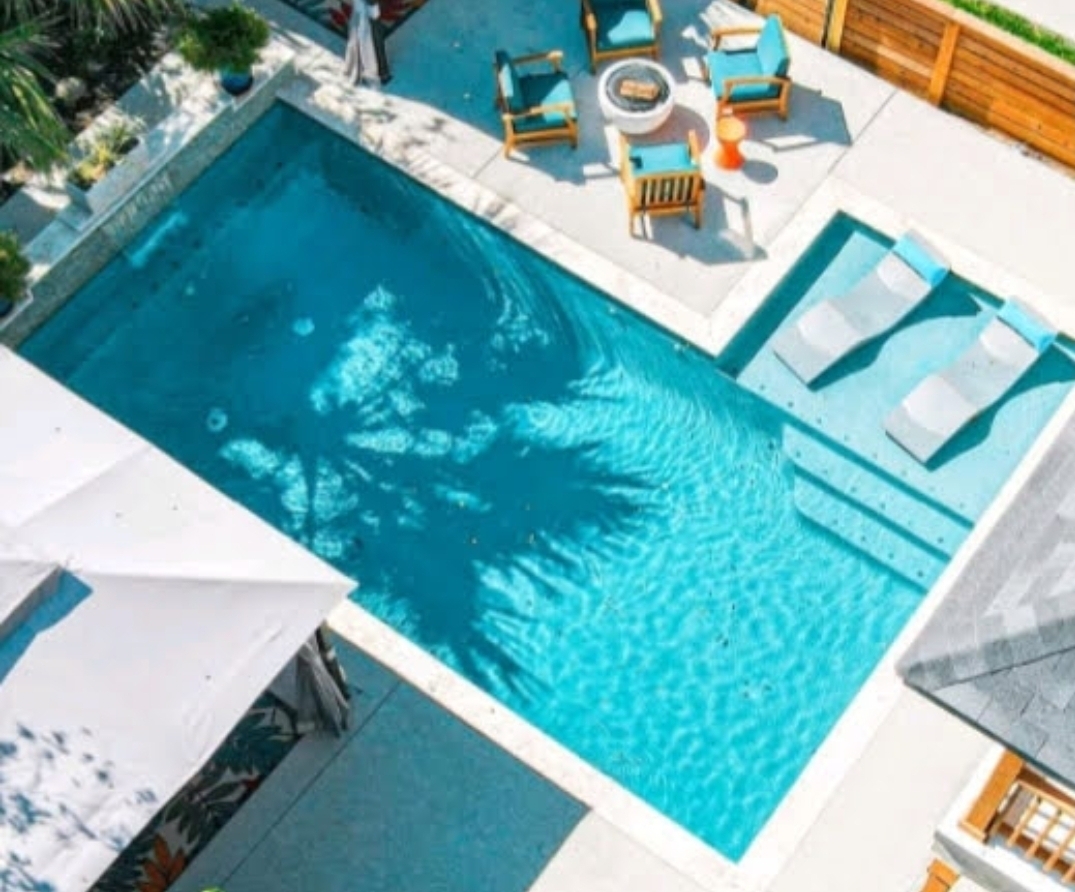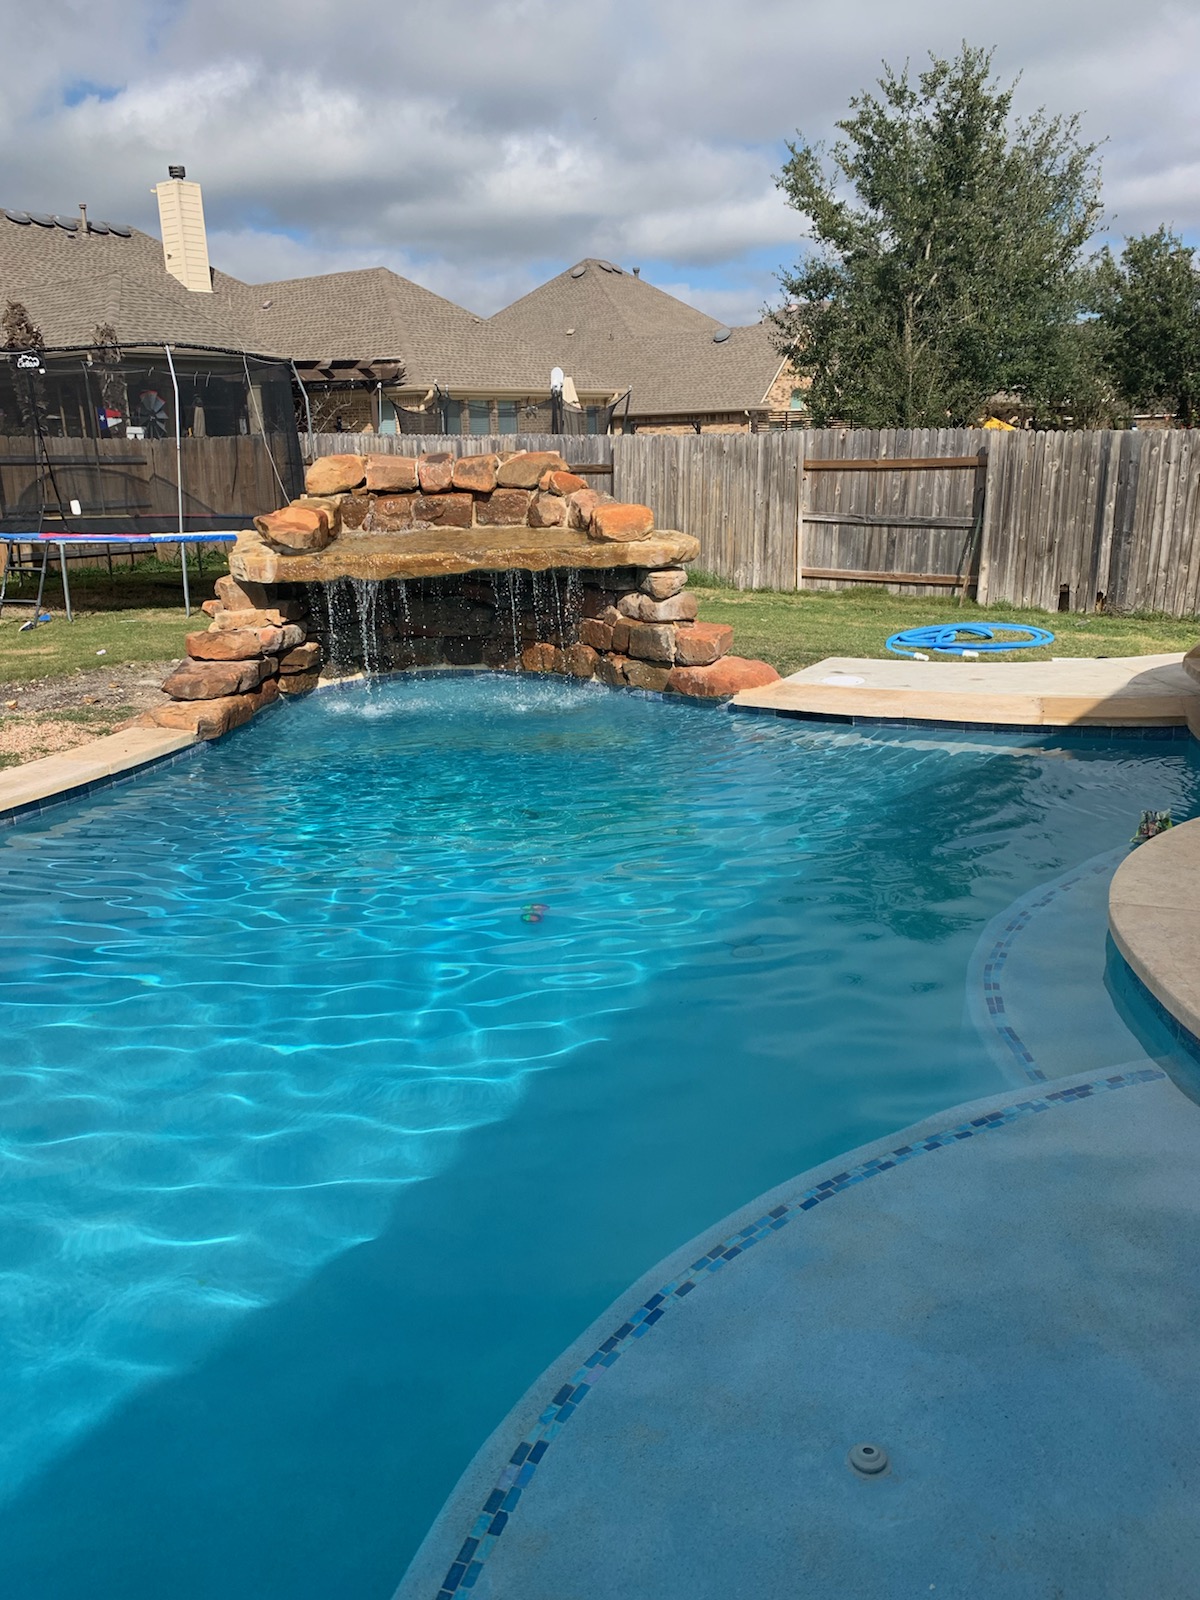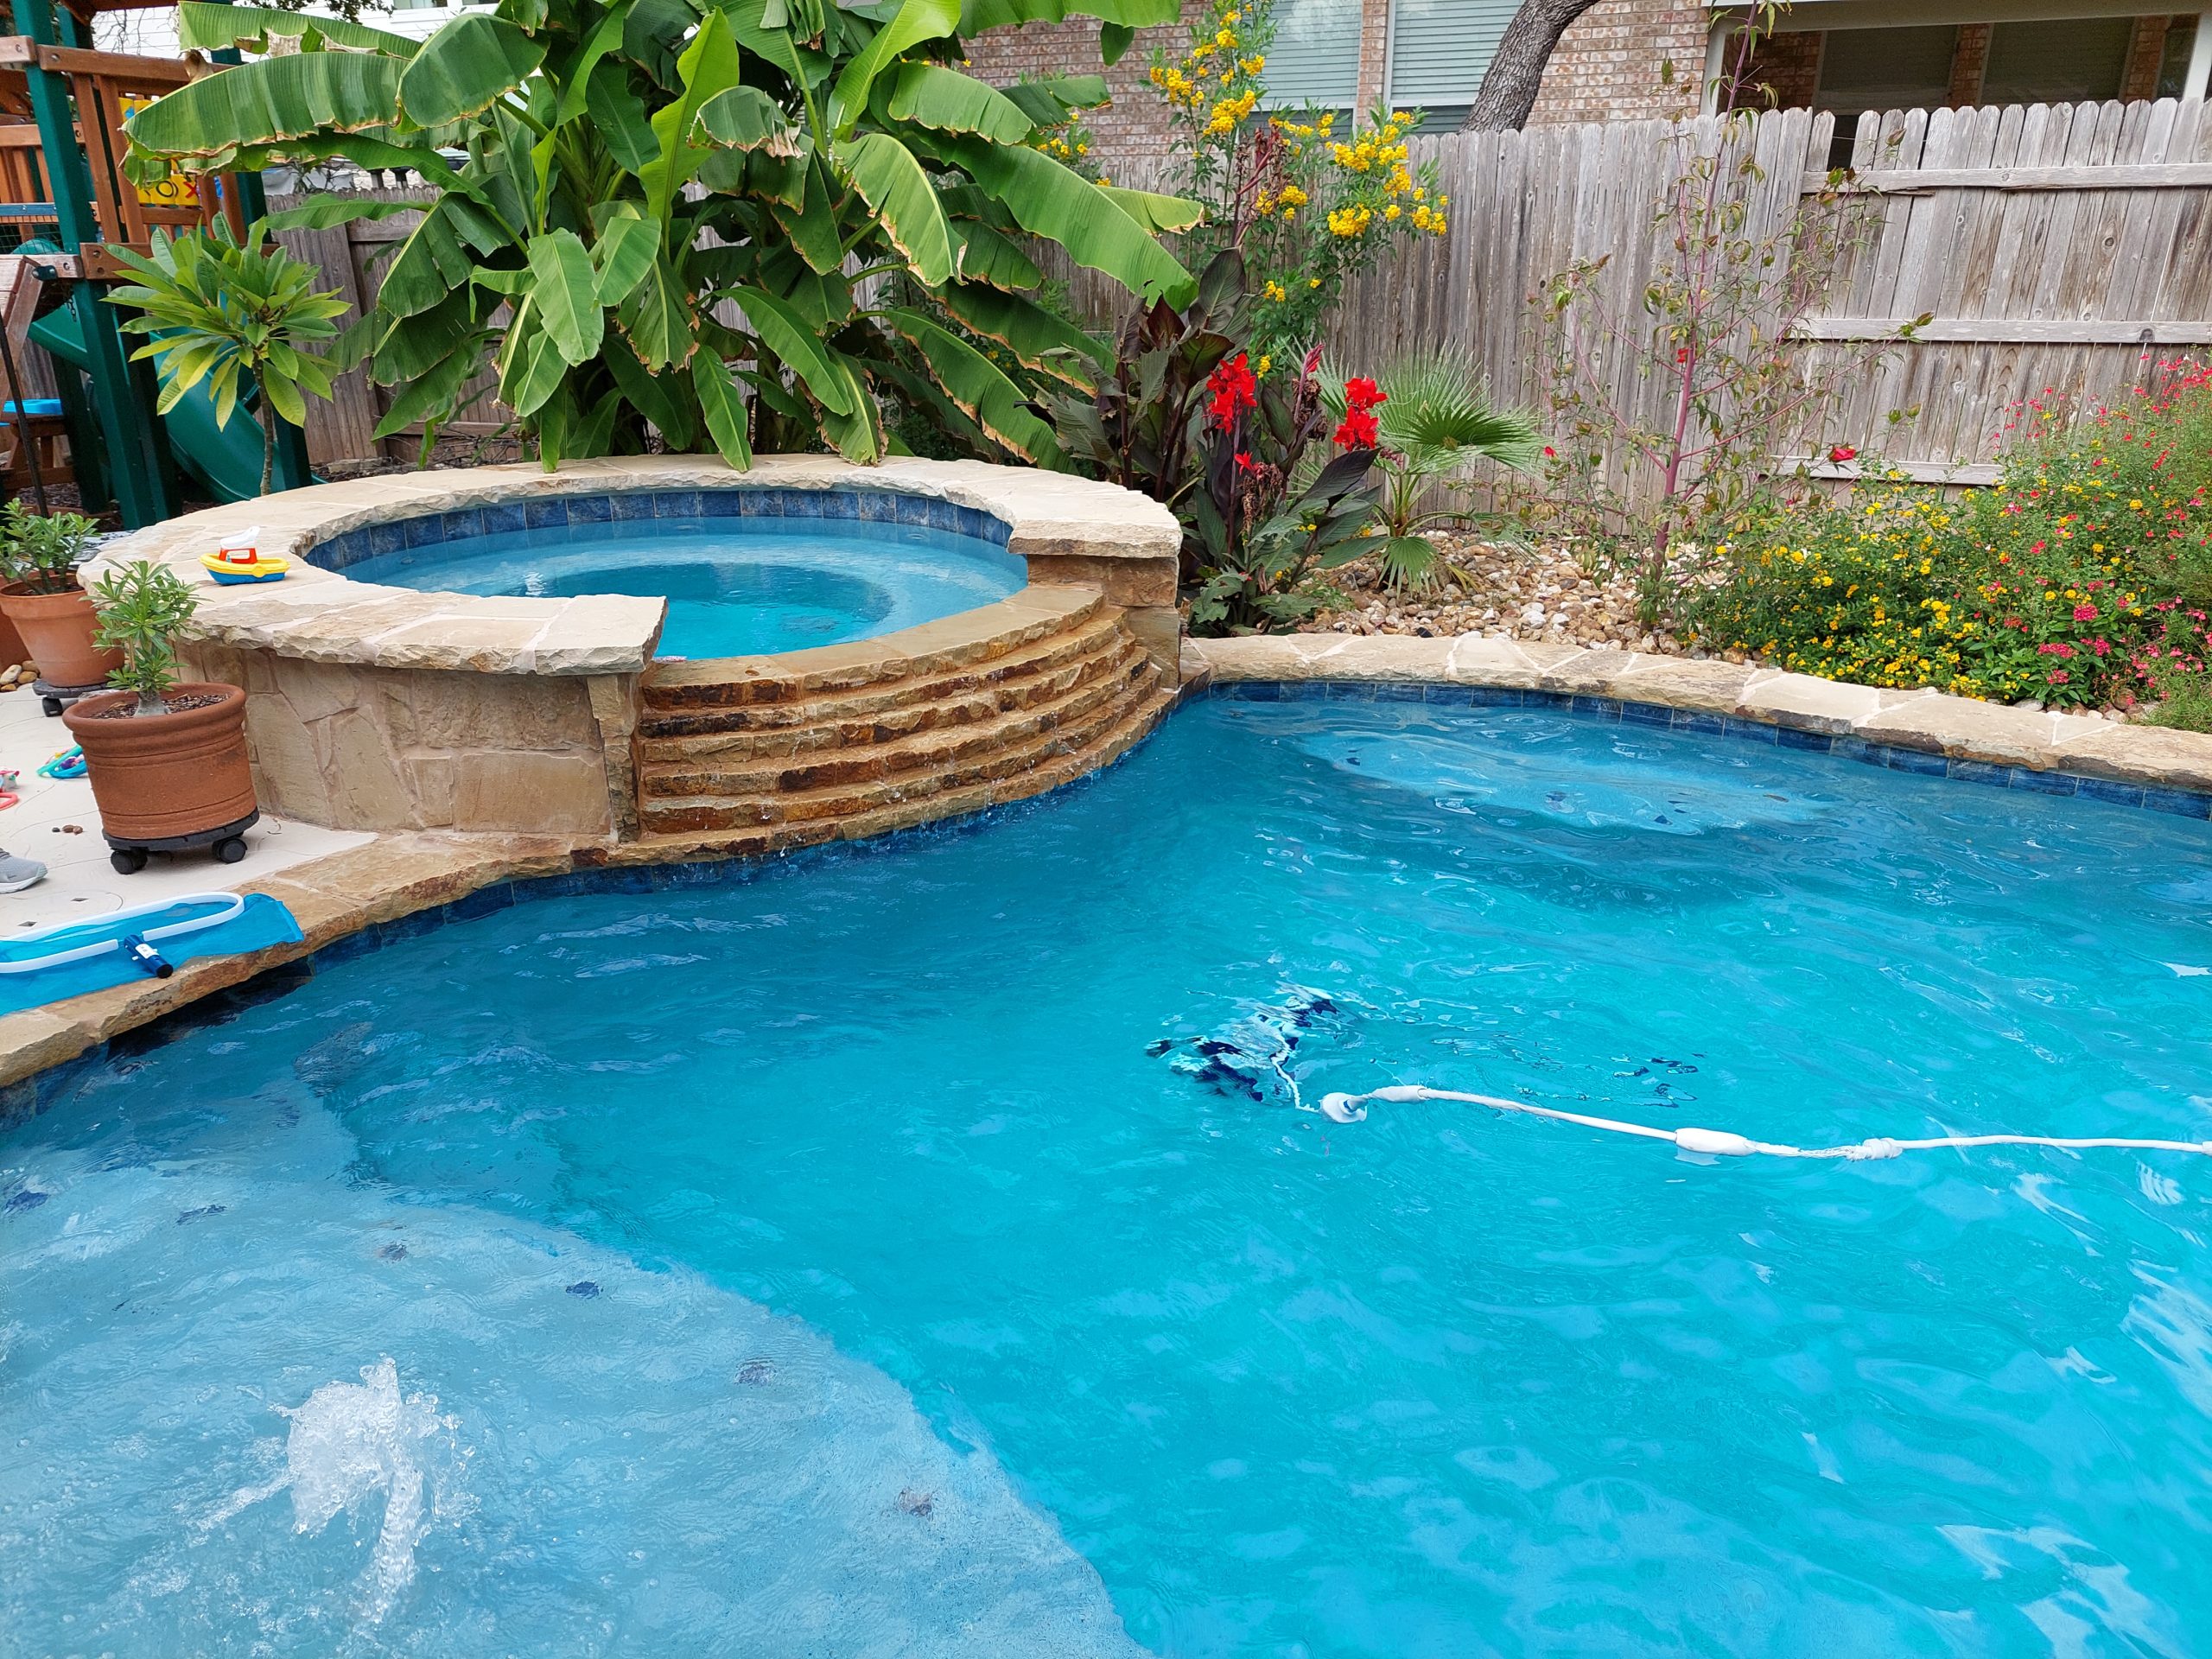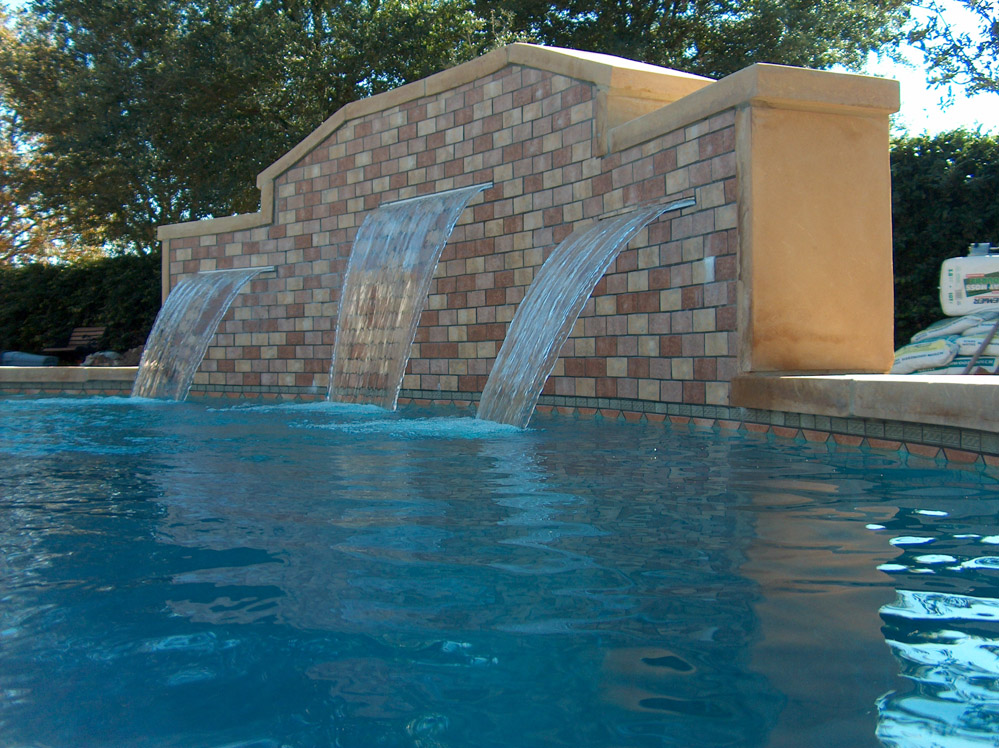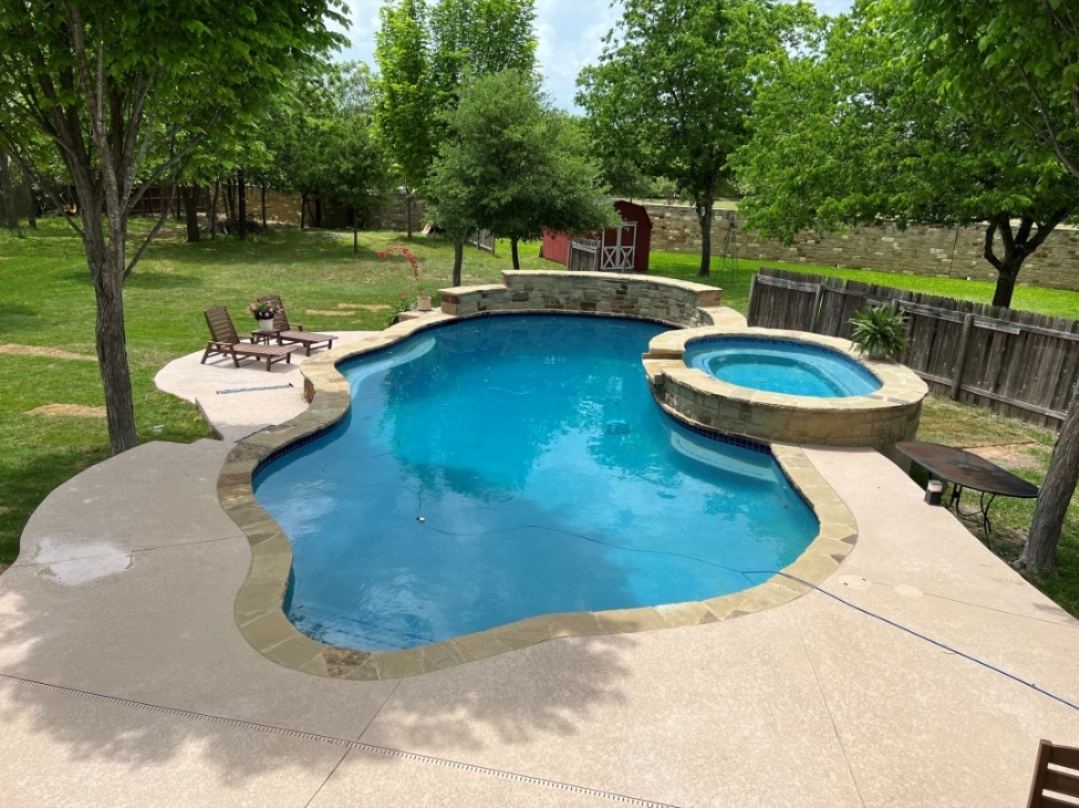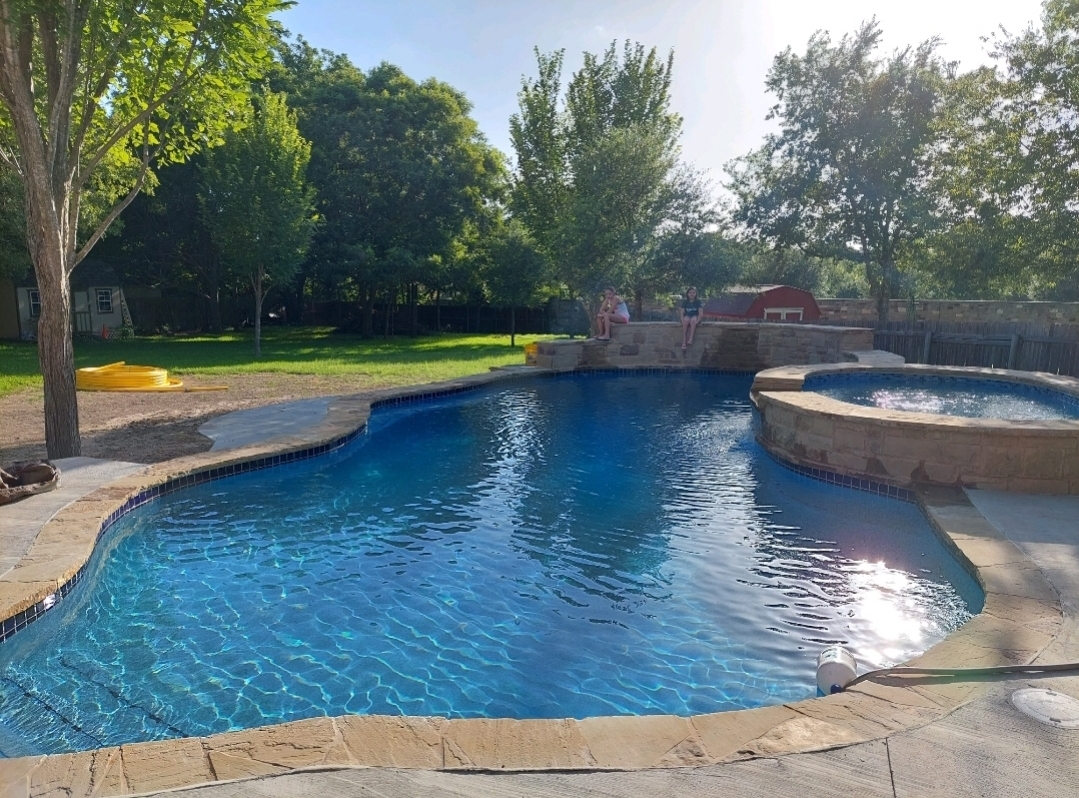
Transforming your swimming pool into an oasis of elegance involves more than just selecting the right tiles. The layout pattern you choose can significantly enhance the aesthetic appeal of your pool area. One of the most sophisticated and visually striking patterns is the Versailles tile pattern. In this guide, we will walk you through the steps to make and lay a Versailles tile pattern, tailored specifically for swimming pools Georgetown Texas.
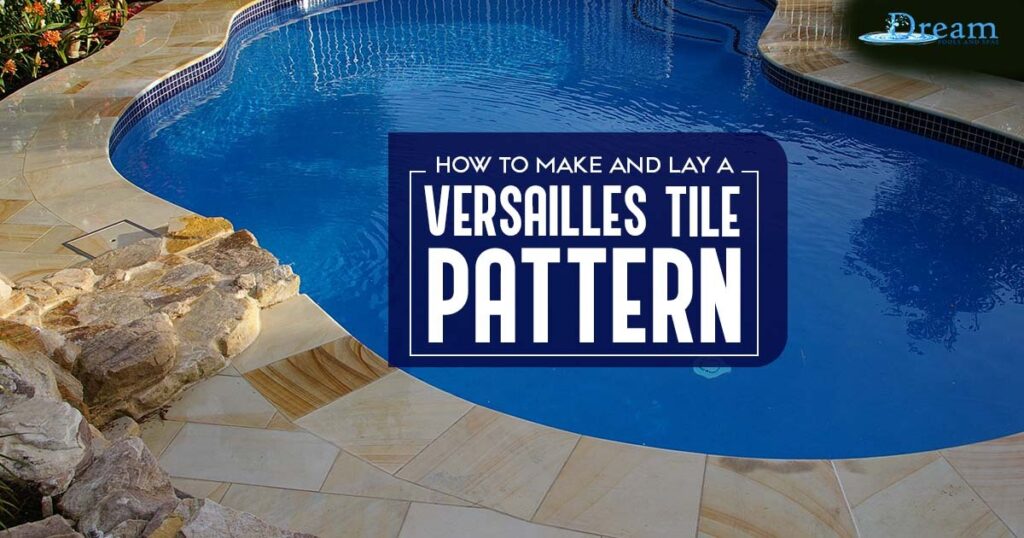
What is the Versailles Tile Pattern?
The Versailles tile pattern, also known as the French pattern, is a classic layout that combines four different tile sizes into a repeating, intricate design. This pattern exudes a sense of timeless elegance and sophistication, making it an excellent choice for enhancing the beauty of swimming pools Georgetown Texas. The combination of large and small tiles creates a visually dynamic effect, adding depth and interest to your pool deck.
Materials Needed
Before starting, gather the necessary materials:
- Four sizes of tiles: 8×8 inches, 8×16 inches, 16×16 inches, and 16×24 inches
- Tile spacers
- Tile adhesive suitable for outdoor use
- Grout
- Tile cutter or wet saw
- Measuring tape
- Chalk line
- Rubber mallet
- Notched trowel
- Sponge and bucket
Step-by-Step Guide
1. Planning the Layout
Start by measuring the area around your swimming pool where you intend to lay the tiles. Sketch a rough outline of the area and plan the layout of the Versailles tile pattern. This pattern consists of a repeating 12-tile sequence, so make sure to plan accordingly to avoid cutting too many tiles.
When planning for swimming pools in Georgetown, Texas, consider the weather and choose tiles that are slip-resistant and can withstand the local climate.
2. Preparing the Surface
Ensure that the surface around your pool is clean, level, and free of any debris. A smooth and even surface is crucial for laying tiles properly. If necessary, use a concrete patching compound to fill in any cracks or uneven spots.
3. Laying the Tiles
- Mark the Center Point: Find the center point of the area and snap chalk lines to create a grid. This will help you maintain straight lines as you lay the tiles.
- Apply Tile Adhesive: Using a notched trowel, spread the tile adhesive on a small section of the surface, starting at the center point. Work in small portions to prevent the adhesive from drying out before you lay the tiles.
- Lay the First Tile Set: Begin with the largest tile (16×24 inches) and place it at the center point. Press it firmly into the adhesive, using a rubber mallet if necessary. Continue by laying the 8×8-inch tile next to it, followed by the 16×16-inch and 8×16-inch tiles. Follow the Versailles pattern layout.
- Continue the Pattern: Repeat the tile layout sequence, working outwards from the center point. Use tile spacers to place the tiles with even spaces. Ensure that the pattern remains consistent and aligned.
- Cutting Tiles: As you approach the edges of the pool area, you may need to cut some tiles to fit. Precise cuts can be made using a tile cutter or wet saw.
4. Grouting the Tiles
Once all the tiles are laid and the adhesive has set (usually after 24 hours), it’s time to grout the tiles.
- Mix the Grout: Follow the manufacturer’s instructions to mix the grout to the right consistency.
- Apply the Grout: Using a rubber float, spread the grout over the tiles, pressing it into the joints. Work in small sections to ensure the grout fills all the gaps.
- Clean the Tiles: After applying the grout, use a damp sponge to wipe off any excess grout from the surface of the tiles. Rinse the sponge to keep it clean.
- Final Cleaning: Once the grout has dried, usually after 24 hours, use a dry cloth to buff the tiles and remove any remaining grout haze.
Conclusion
Laying a Versailles tile pattern around your swimming pool can elevate the overall look of your outdoor space, making it a true centerpiece in Georgetown, Texas. By following these steps, you can achieve a professional and timeless finish that not only enhances the beauty of your pool but also adds value to your property.
Whether you are renovating an existing pool or installing a new one, the Versailles tile pattern is a sophisticated choice that stands the test of time. Embrace the elegance of this classic design and transform your swimming pool into a luxurious retreat in the heart of Georgetown, Texas.